Over the years, we’ve developed techniques for keeping periodical cicada adults alive in captivity. First a little background:
To conduct behavioral experiments, you’ll need unmated females. However, your chances of actually finding such females in a chorus are small– most of the females you see are not yet ready to mate or they have already mated– and they only tend to mate once. Thus, for behavioral experiments, it is essential to collect teneral females. These are relatively easy to find early in the morning after emergence, before they have crawled off into the vegetation. They are relatively easy to identify since their bodies are soft and their colors pale– the ovipositor especially is a milky white rather than dark and sclerotized.
We store such females in small bag cages for about a week or so before we need them. We can usually collect males from the surrounding chorus, although for some experiments and for rare species, we collect then in the same manner as females. We carefully inspect the cicadas that we are putting in cages to ensure that they are the same sex, and we put no more than 20 in a cage.
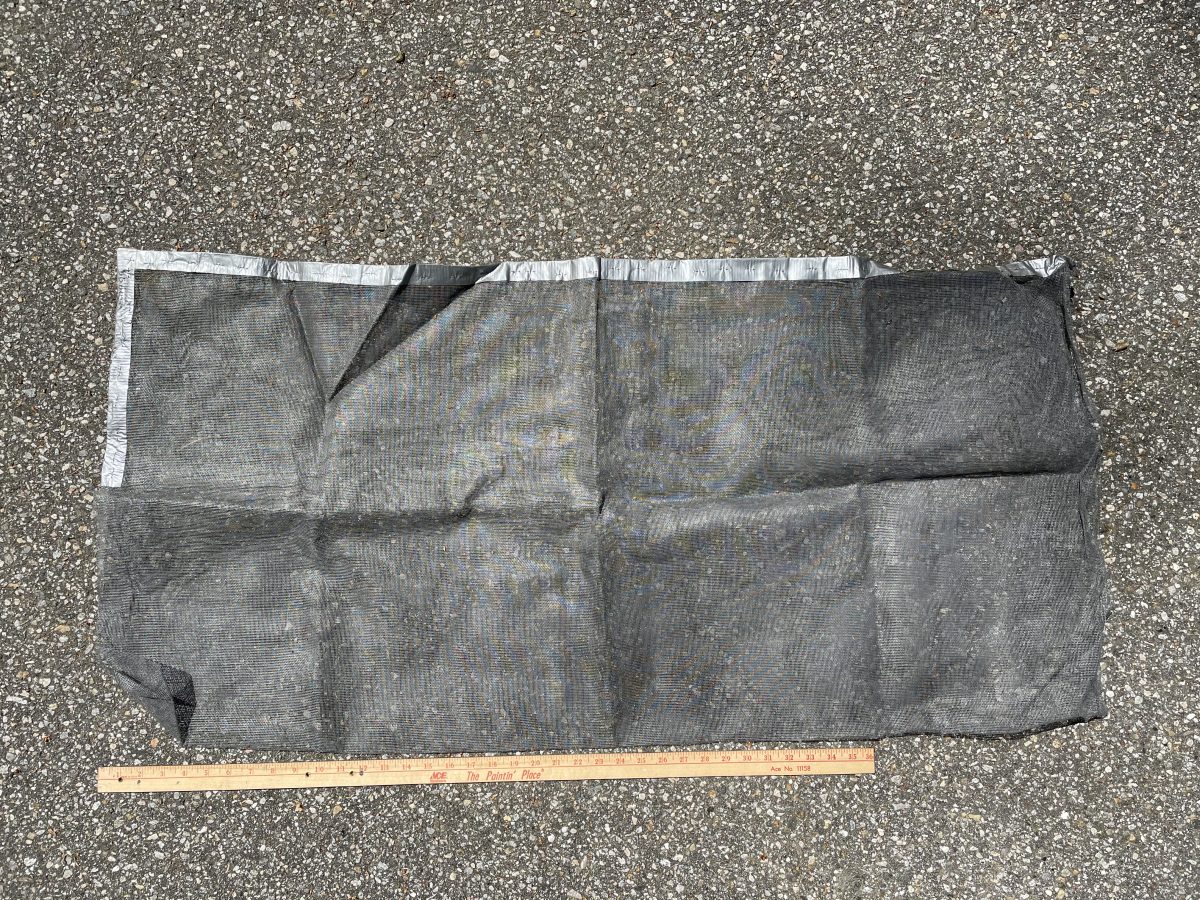
The cages are constructed of fiberglass window screen material, duct tape, and staples. We’ve experimented with several different materials, including tulle, and we keep coming back to the fiberglass mesh, because material with smaller openings can cause the cicadas to get their tarsi stuck, and when they try to pull away, they rip their tarsi off. The front tarsi are especially important, because cicadas seem to use them to probe surfaces before walking onto them. Cicadas that are missing tarsi seem to go into a decline.
A large piece of screen material is folded over and then seam is taped; then it is stapled. One end is completely open, which the other (the access opening) is half-open.
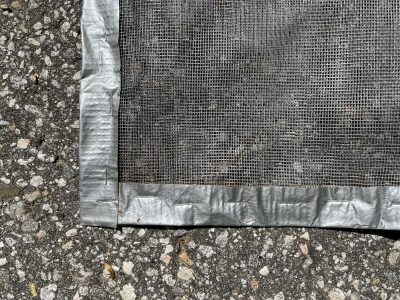
It is essential to use both duct tape and staples- neither will hold on its own. Without the staples, the duct tape adhesive will fail, and without the duct tape, the staples will pull through the material.
Oak branches are ideal for cages, although other hardwoods will do (we avoid maples because of possible phytochemicals, and Tulip Trees or cherries are not appropriate if you are collecting eggnests). The most important criterion for a good branch is that you do not want the cage to have peaks or upward-pointing areas; cicadas, like many insects, will tend to walk upwards, and they can become trapped (and die) in peaks or upward-facing parts of a cage. The goal is to create a cage that will cause them to spread out and, with a little luck, remain mostly on the vegetation at least some of the time.

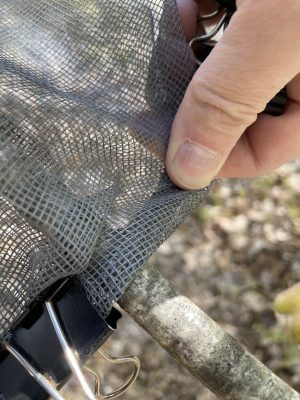
The branch is gently compressed and inserted into the large opening of the cage. Then the cage is secured by rolling the edges under the clipping with a binder clip. It is essential that the roll be made downward and not upward, because you do not want to create any places the cicada could walk up and become trapped.
The other end of the cage has the opening that you will use the access the cicadas:
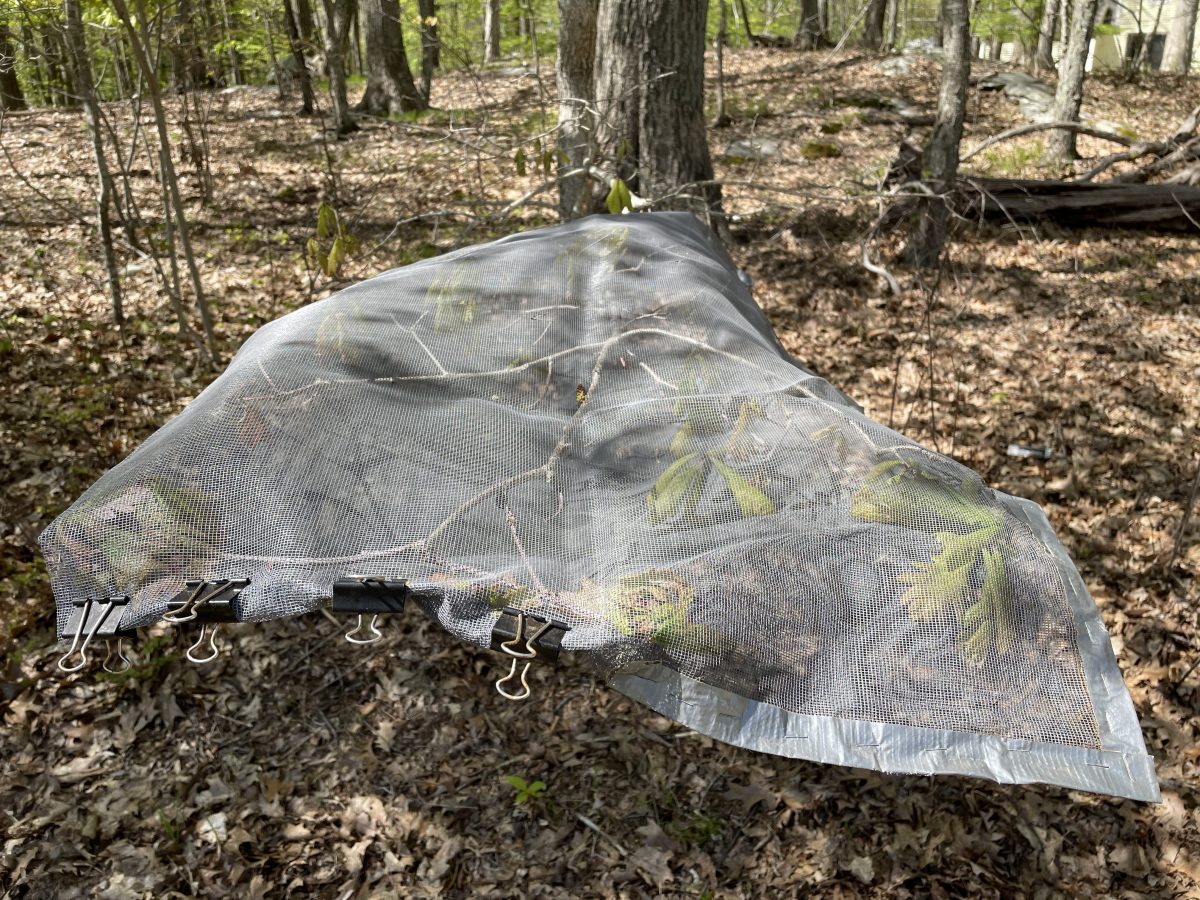
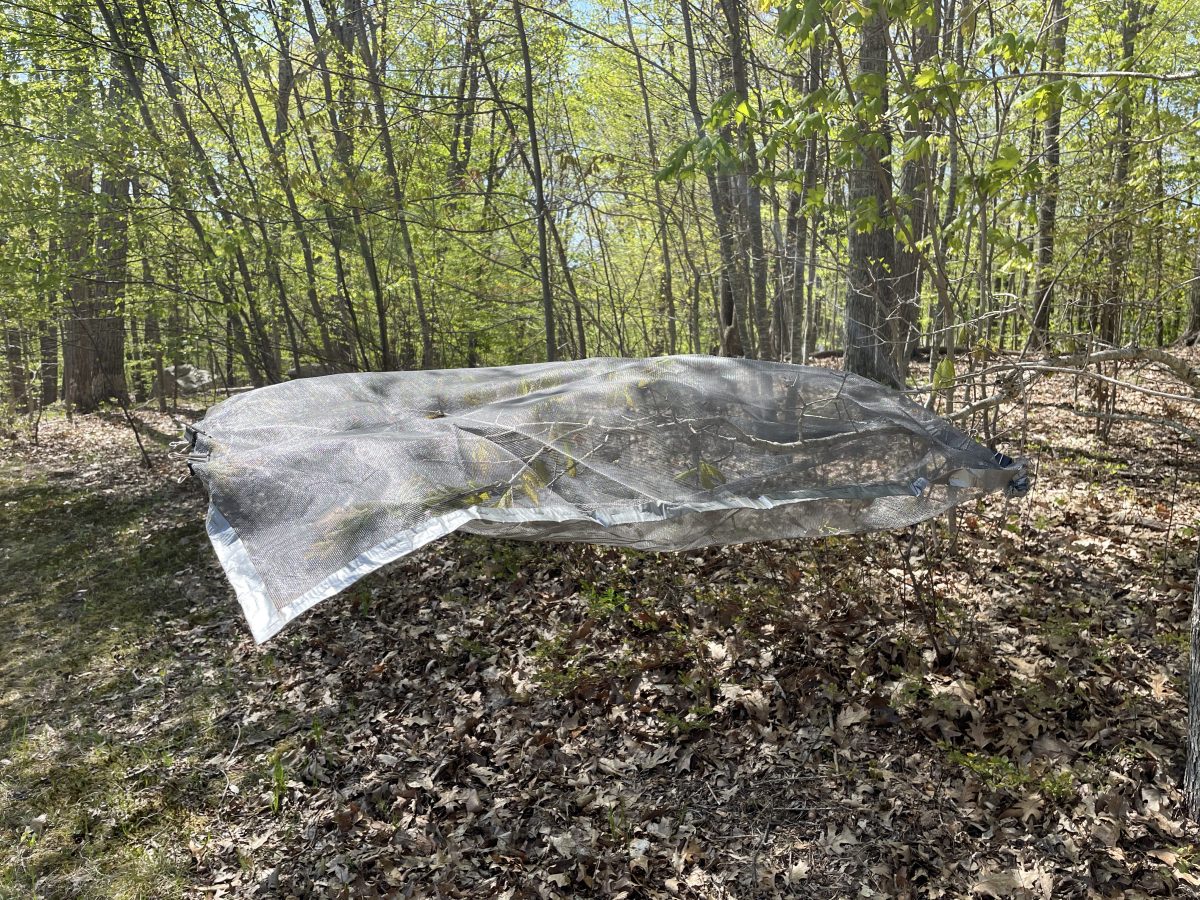
The final cage should look mostly like this (again, this isn’t ideal, because the tree has not fully leafed out and this branch never receives sunlight):
You’ll need to check the cages daily, and remove the deads before they get rotty and stinky. You’ll also need to check for holes made by birds, rodents, or other insects. Holes may be patched by slapping two pieces of duct tape together– one on the inside of the cage, one on the outside, so that the adhesive sticks together through the hole. Larger holes may be closed with binder clips.